일단 네스티드 라우터와 네임드 뷰의 차이를 알고가겠습니다.
네스티드 라우터는 중첩된 라우터라고 말할 수 있는데요.
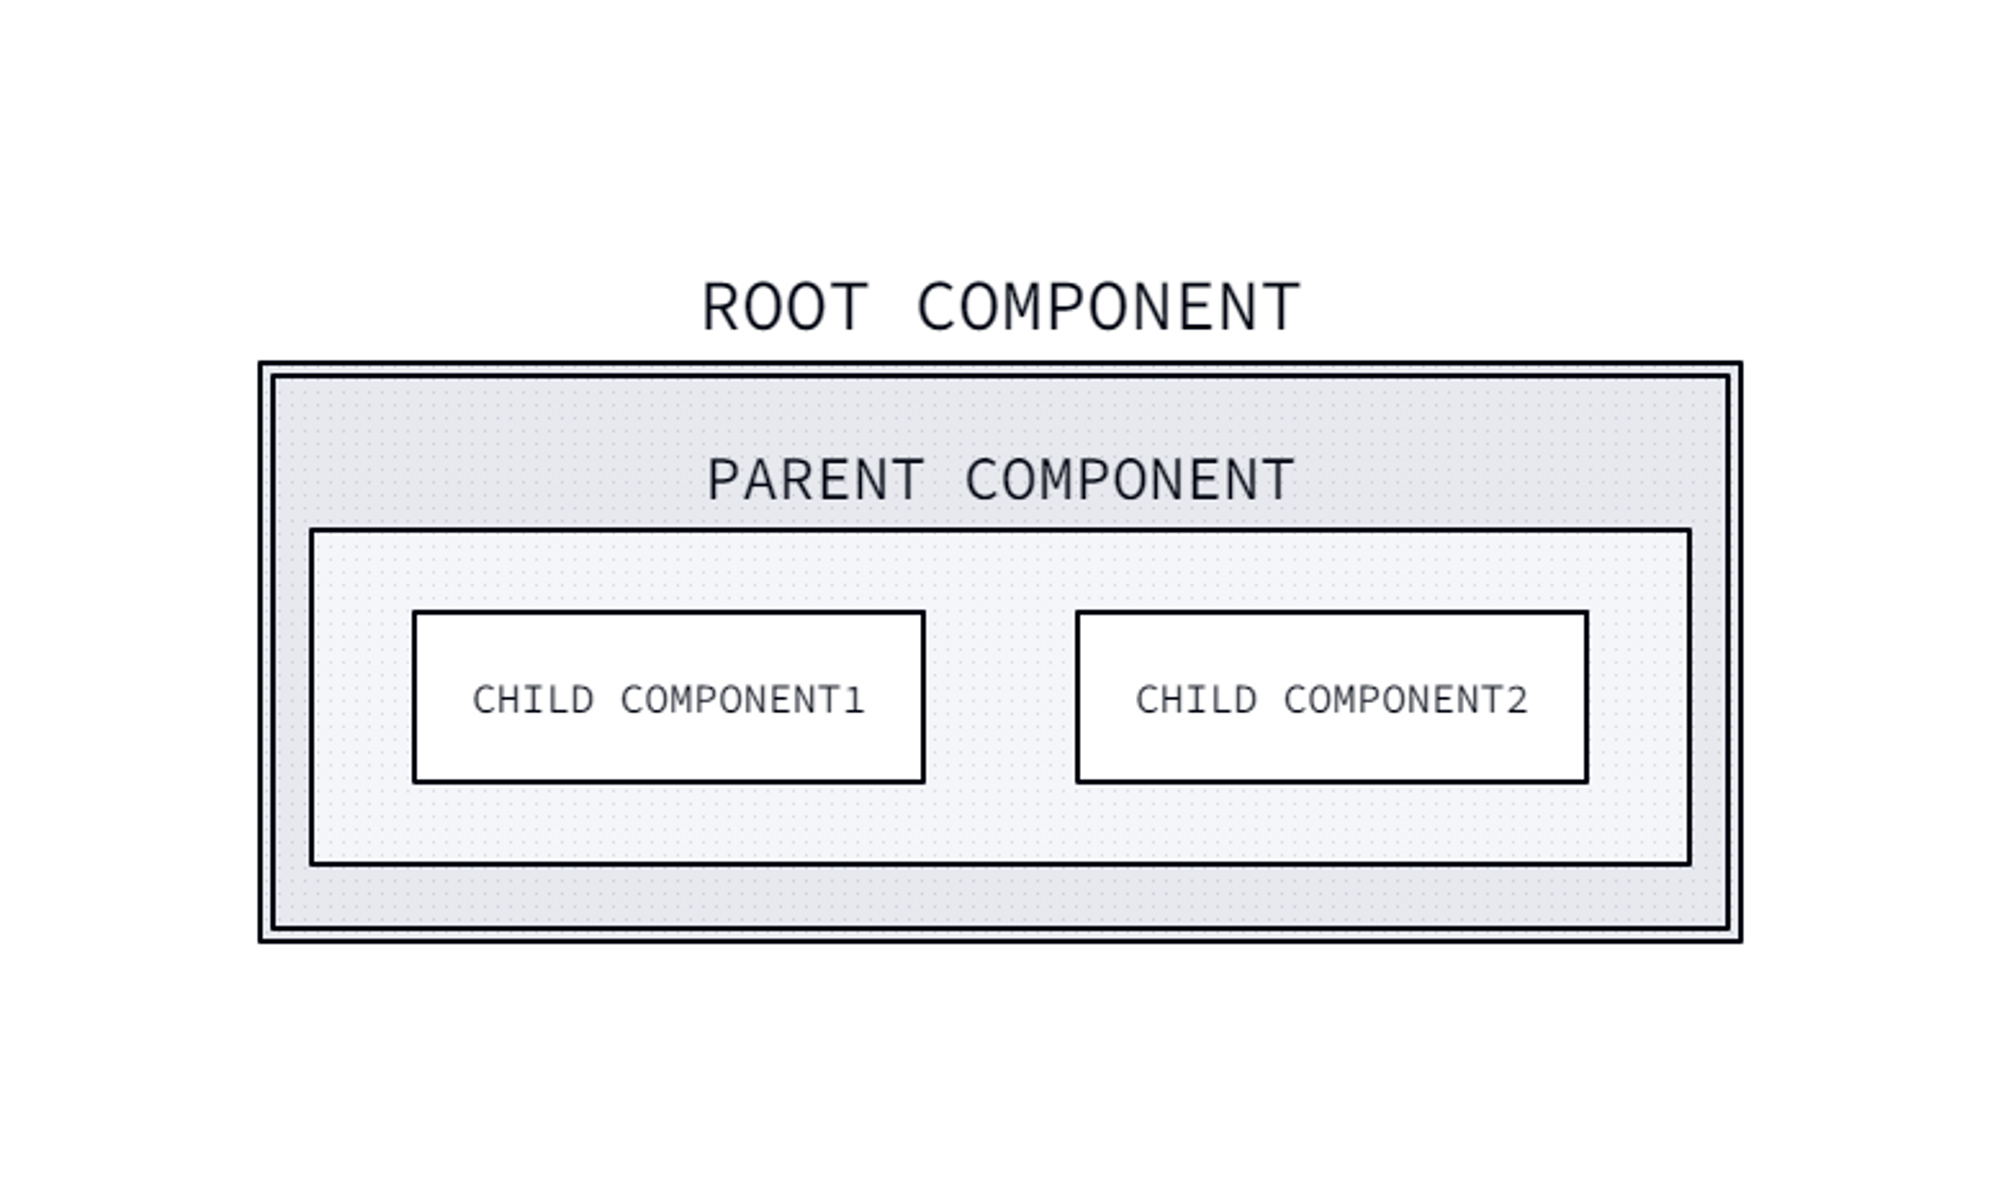
아래와 같이 Root Component(router)안에 Parent Component(router)안에 Child Component가 두 개있음을 볼 수 있습니다.
Component안에 Component가 중첩되어있는 상태이죠.
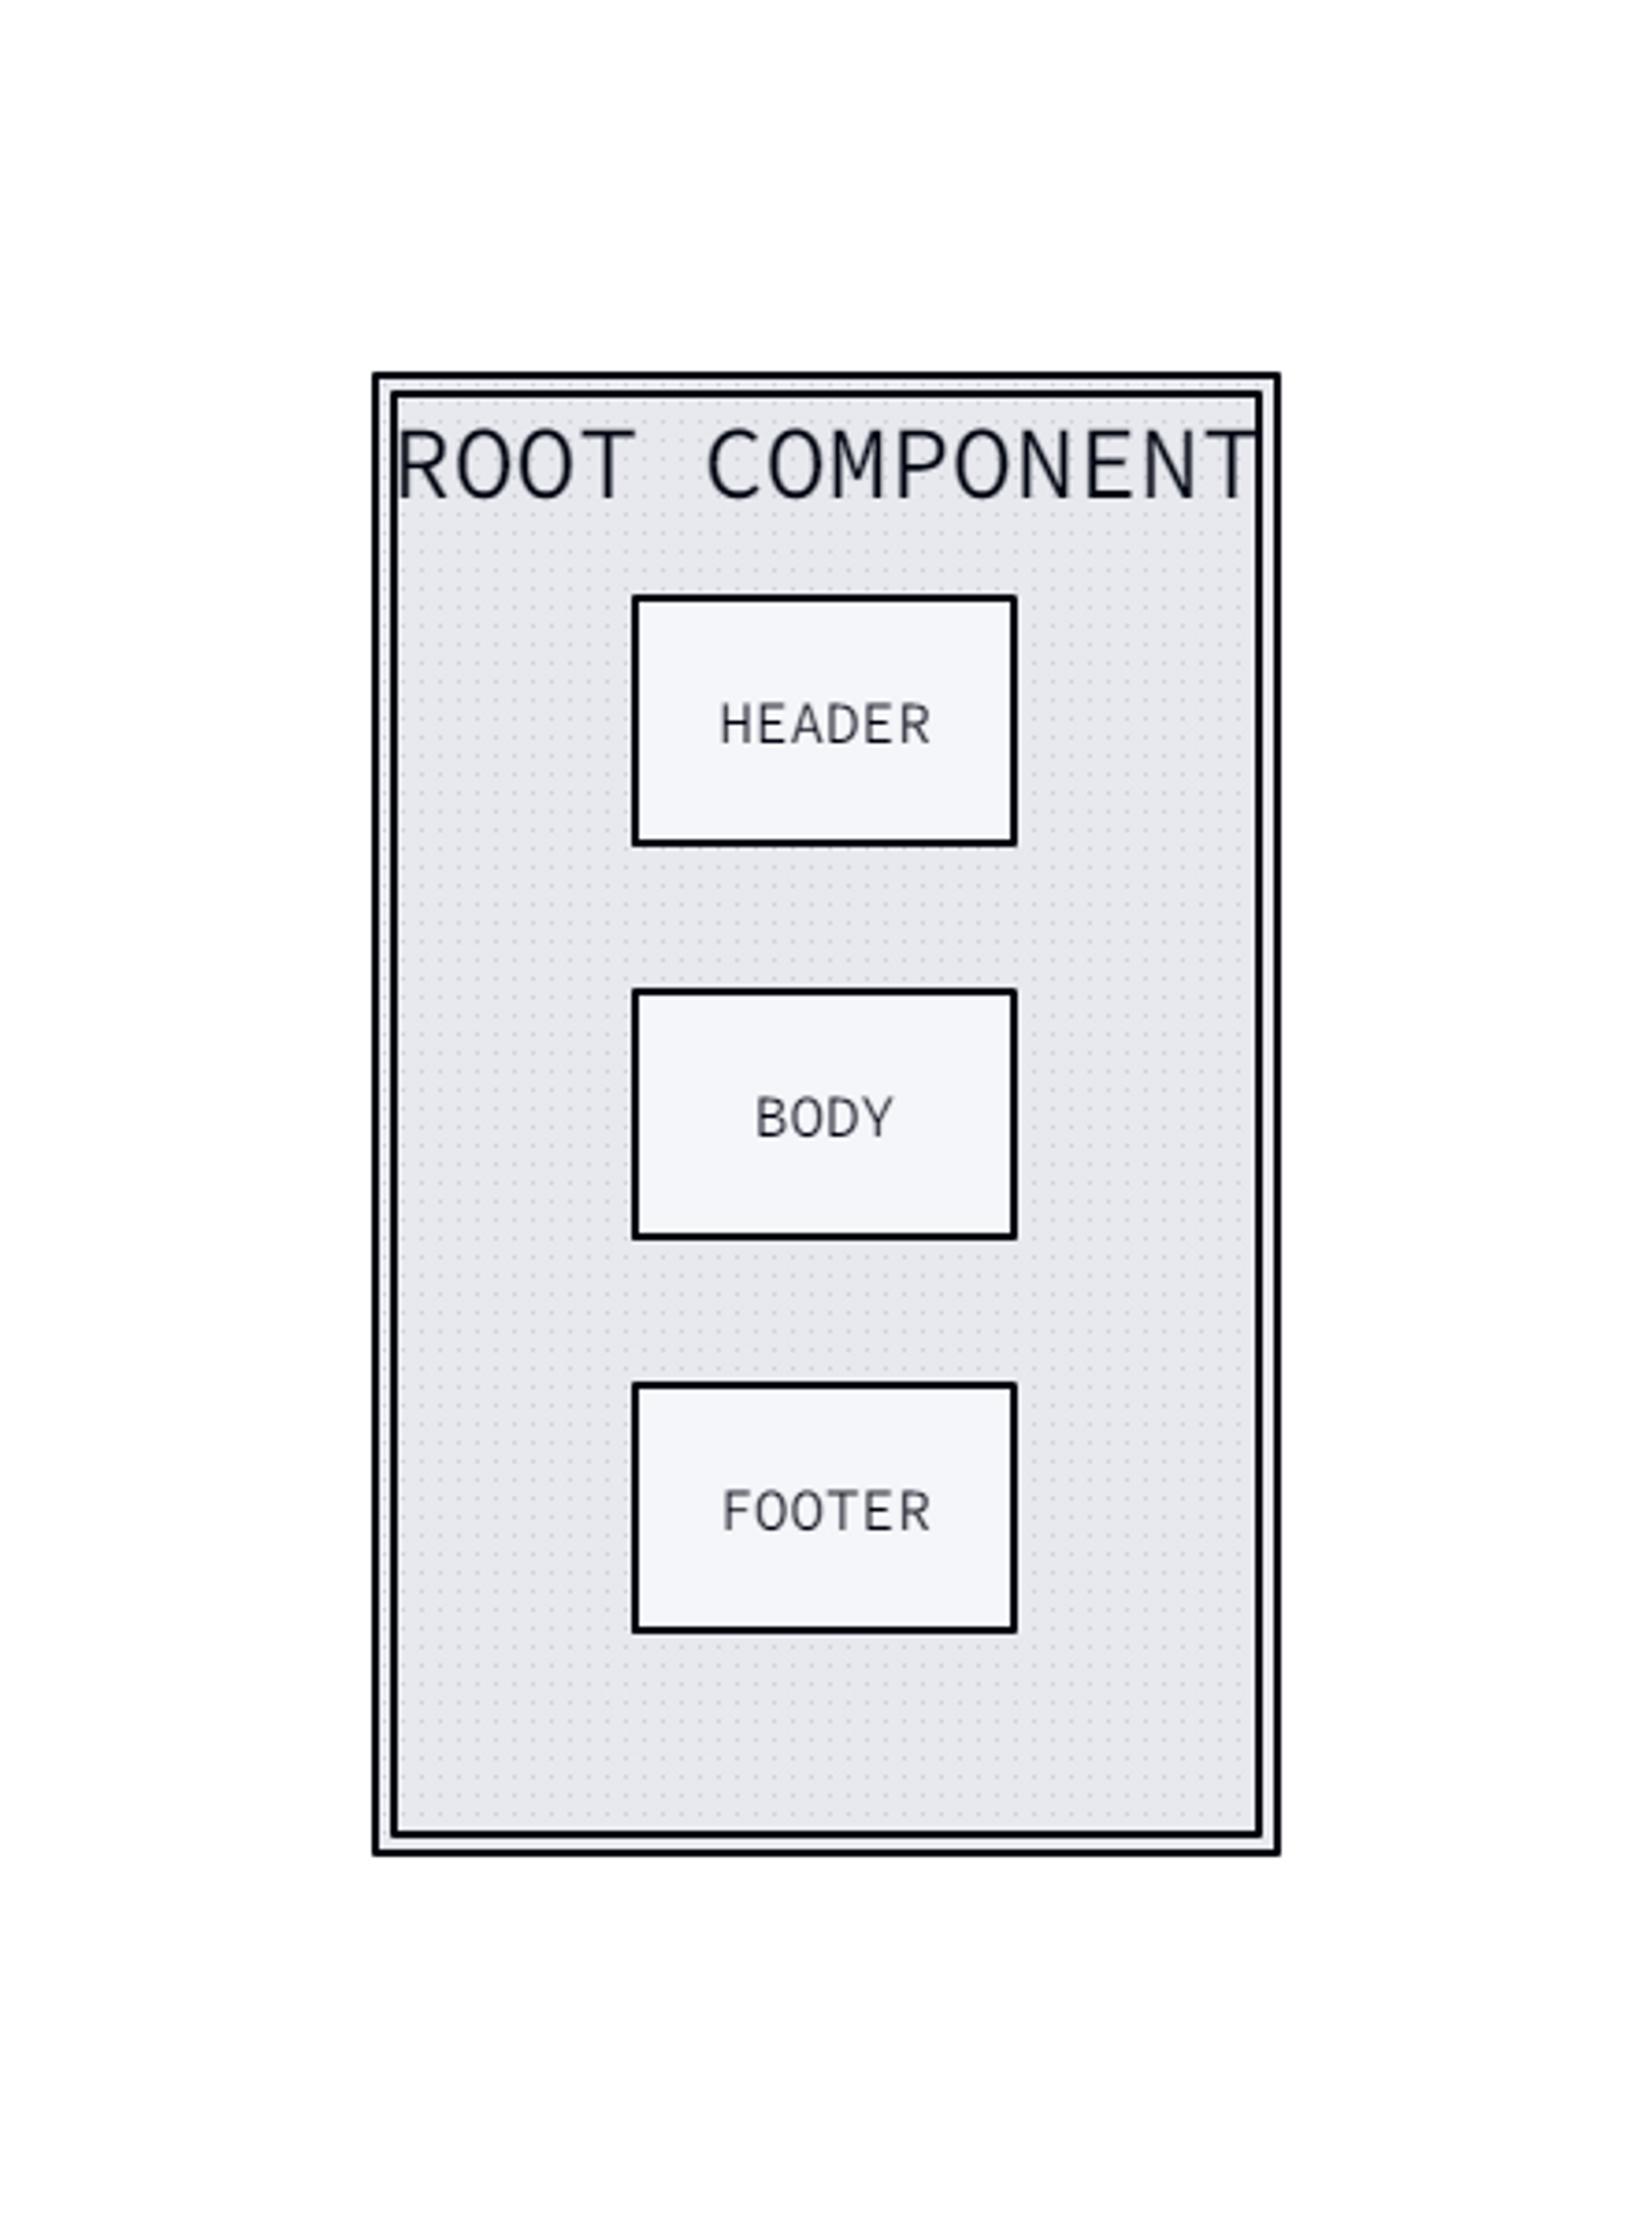
그에 반해 네임드 뷰는 각 고유 영역을 가지고 있고 해당 영역에 대해 여러 component를 렌더링할 수 있습니다.
정리하면
네스티드 라우터를 사용하면 계층 구조로 제작 가능하고
네임드 뷰로 만들면 특정 영역을 여러 component로 렌더링 할 수 있습니다.
두 경우를 같이 사용하면 복잡하나 모듈화 된 어플리케이션을 만들 수 있습니다.
그러면 이제 네스티드 라우터를 만들어 보겠습니다.
아래는 전체 예제 코드입니다.
<!DOCTYPE html>
<html lang="en">
  <head>
    <meta charset="UTF-8" />
    <meta http-equiv="X-UA-Compatible" content="IE=edge" />
    <meta name="viewport" content="width=device-width, initial-scale=1.0" />
    <title>Nested</title>
  </head>
  <body>
    <div id="app">
        app area
        <router-view></router-view>
    </div>

    <script src="https://cdn.jsdelivr.net/npm/vue/dist/vue.js "></script>
    <script src="https://cdn.jsdelivr.net/npm/vue-router/dist/vue-router.js"></script>
    <script>
      var child1_component = {
        template: '<div>child1</div>'
      };

      var child2_component = {
        template: '<div>child2</div>'
      };

      var parent_component = {
        template: '<div>parent area<router-view></router-view></div>'
      };

      var child_routes = [
        { path: '/child1', component: child1_component },
        { path: '/child2', component: child2_component }
      ];

      var parent_routes = [
        {
          path: '/',
          component: parent_component,
          children: child_routes
        }
      ];

      var router = new VueRouter({
        routes: parent_routes
      });

      new Vue({
        router
      }).$mount('#app');

    </script>
  </body>
</html>
필요한 부분만 보겠습니다.
var parent_component = {
  template: '<div>parent area<router-view></router-view></div>'
};

var child_routes = [
  { path: '/child1', component: child1_component },
  { path: '/child2', component: child2_component }
];

var parent_routes = [
  {
    path: '/',
    component: parent_component,
    children: child_routes
  }
];

var router = new VueRouter({
  routes: parent_routes
});

new Vue({
  router
}).$mount('#app');
child-component는 생략해도 된다 생각합니다.
parent-component의 경우 <div>parent area<router-view></router-view></div>라고 template을 구성했는데요.
일단 현재 영역이 parent area라고 명시해두고 child component의 렌더 결과를 보여주기 위해 router-view를 내부에 넣어 줬습니다.
child-router는 간단하게 child1, child2의 경로에 접근 시 해당되는 child-component를 뿌리도록 설정해줍니다.
parent-routes는 일단 가장 기본 경로인 ‘/’에 parent-component를 뿌려 주고 자식(하위)로 child_routes를 설정해 줍니다.
이를 통해 계층 구조가 됩니다.
그리고 제일 상단엔 parent_routes를 설정하고 app에 마운트 시켜주면 아래와 같이 출력됩니다.
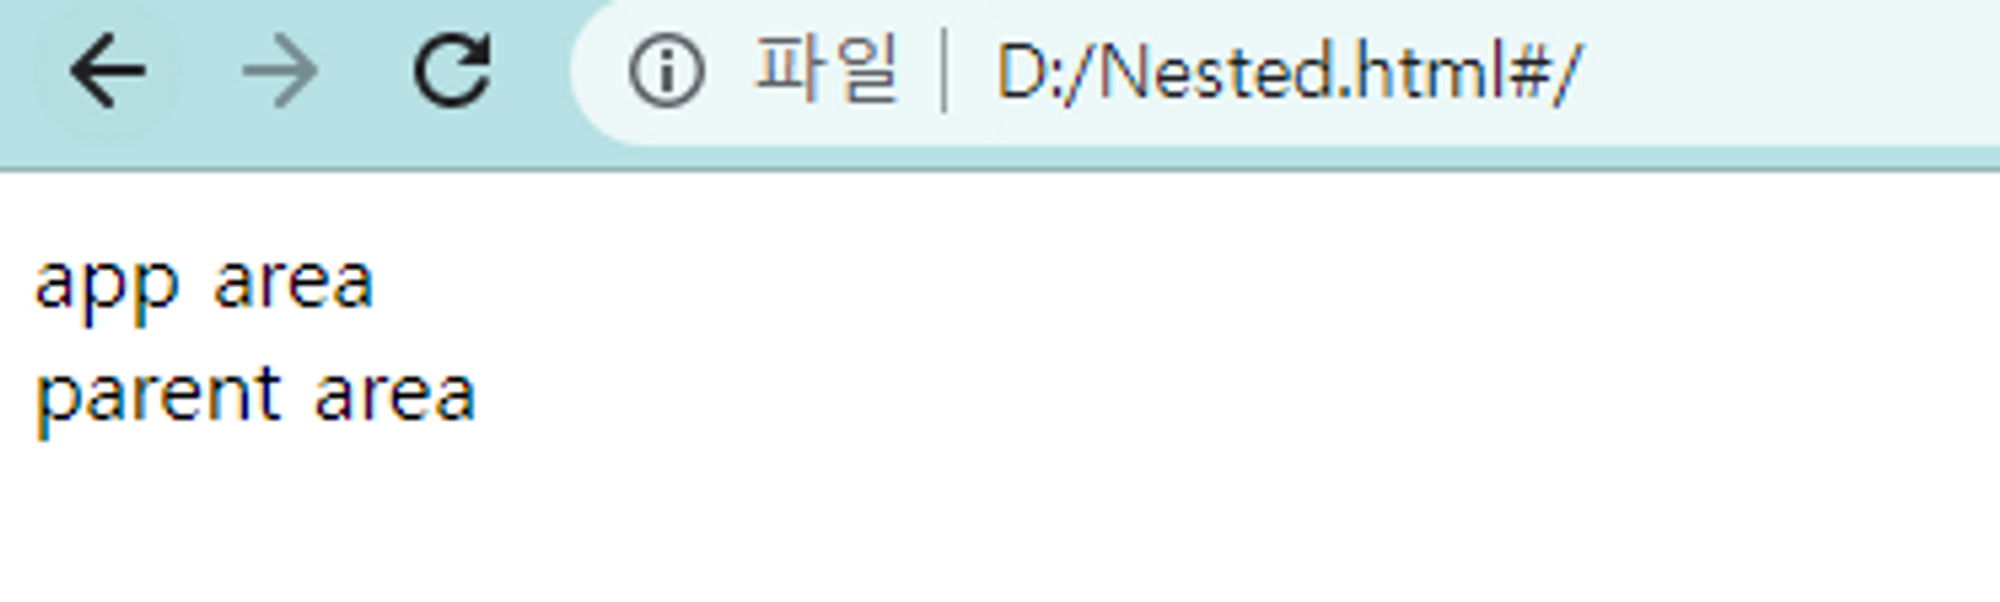

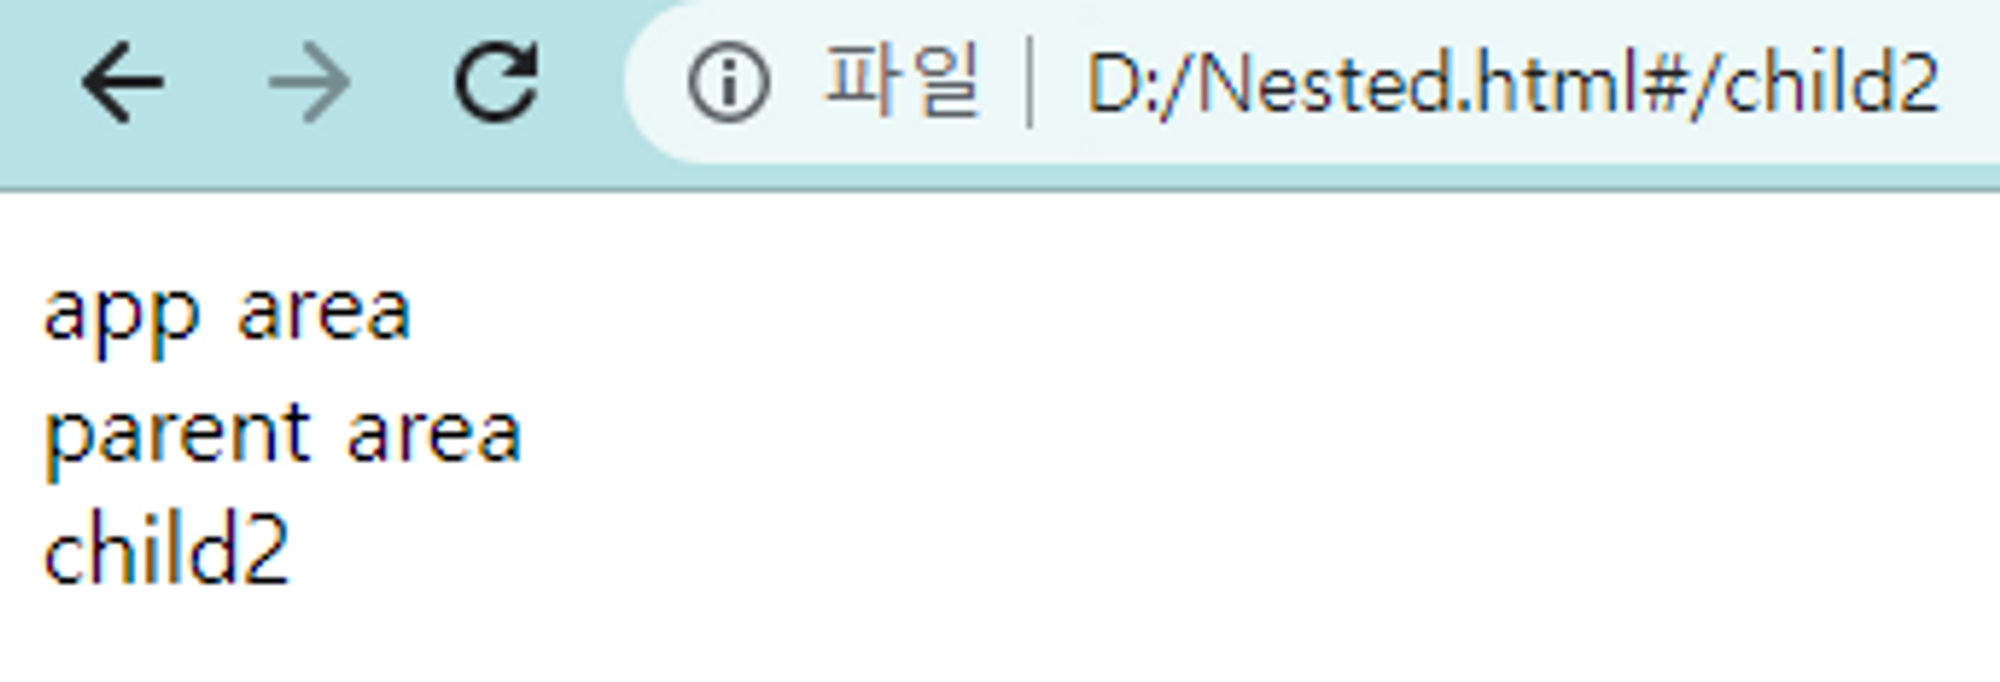
이를 통해 parent의 경우 변하지 않고 child componenet가 서로 바뀌는 것을 확인할 수 있습니다.
이것으로 마치겠습니다.
다음엔 Named View의 예제로 찾아뵙겠습니다.
'Vue.Js' 카테고리의 다른 글
| [Vue.Js] 12. Vue.Js Http 통신(axios) (0) | 2023.04.28 |
|---|---|
| [Vue.Js] 11. Vue.Js 네스티드 라우터 & 네임드 뷰 (2) (0) | 2023.04.27 |
| [Vue.Js] 9. Vue.Js 화면 구성 요소 변경 (Router) (0) | 2023.04.25 |
| [Vue.Js] 8. Vue.Js 컴포넌트간의 통신3 (0) | 2023.04.24 |
| [Vue.Js] 7. Vue.Js 컴포넌트간의 통신2 (0) | 2023.04.23 |


